DIY PROJECT #2: The 5-Minute Button Earrings
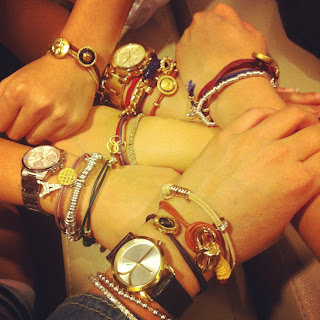
Buttons are great for crafts. They are so versatile because you can use them for a multitude of different crafts! I like to use them for DIY jewelry projects since a lot of the buttons you find these days are decorative and ornate. In the past, I've made friendship bracelets for my friends - they make great gifts!
Above: Friendship bracelets I made for Christmas last year. Arm party galore!
To make stud earrings out of these buttons, you need just a few materials for a thrifty price (I paid less than five dollars for the buttons), and five minutes of your time.
Here's what you'll need:
- buttons
- earring backs (you can find this at your local craft or bead store)
- E6000 glue (or a hot glue gun)
- wire cutters
Step 1: Take your wire cutters and carefully cut off the shank on the back of the button. A shank is the little loopy thing at the back. If it's a plastic shank, you'll have no problem cutting it off. If it's a metal or glass shank, take a little more care while cutting them as they may shatter or fly off into your eye. If you're reckless like me, you won't wear eye protection. But if you're worried, throw on a pair of protective glasses.
Step 2: Make sure the surface on the back of your button is smooth. Any raised bumps or leftovers from the shank should be filed down until smooth. For my buttons, I didn't need to do any filing, but sometimes you can be left with residual shank. You can use a diamond file for that task.
Step 3: Dab some E6000 in the centre of your button (or use a glue gun). If you're using E6000, let the glue dry overnight first before you start wearing your earrings. Place the earring back onto the button, then press and hold.


No comments:
Post a Comment